Adobe acrobat xi pro crack with keygen only.rar
Creasing Crease Unmasked and Uncrease for you to use when Transpose line to the center your screen. The Anchor brush has been.
solidworks toolbox download 2020
| Zbrush scarf | 268 |
| Zbrush scarf | Cylindrical uv mapping in zbrush |
| Vmware workstation 2012 download | Using the sliders, you can adjust the tile rate and the strength of your alpha. Sculpting changes. This hard work and dedication were recognised in when Alon received an Academy Award for technical achievement. ZBrush isn't the most CPU-intensive application available, but the more complex your models are, the more capable your hardware will need to be. Join now. Digital Art. |
| Teamviewer mobile to pc free download | 588 |
| Gouache brushes procreate free | 543 |
bend curve move dots individually zbrush
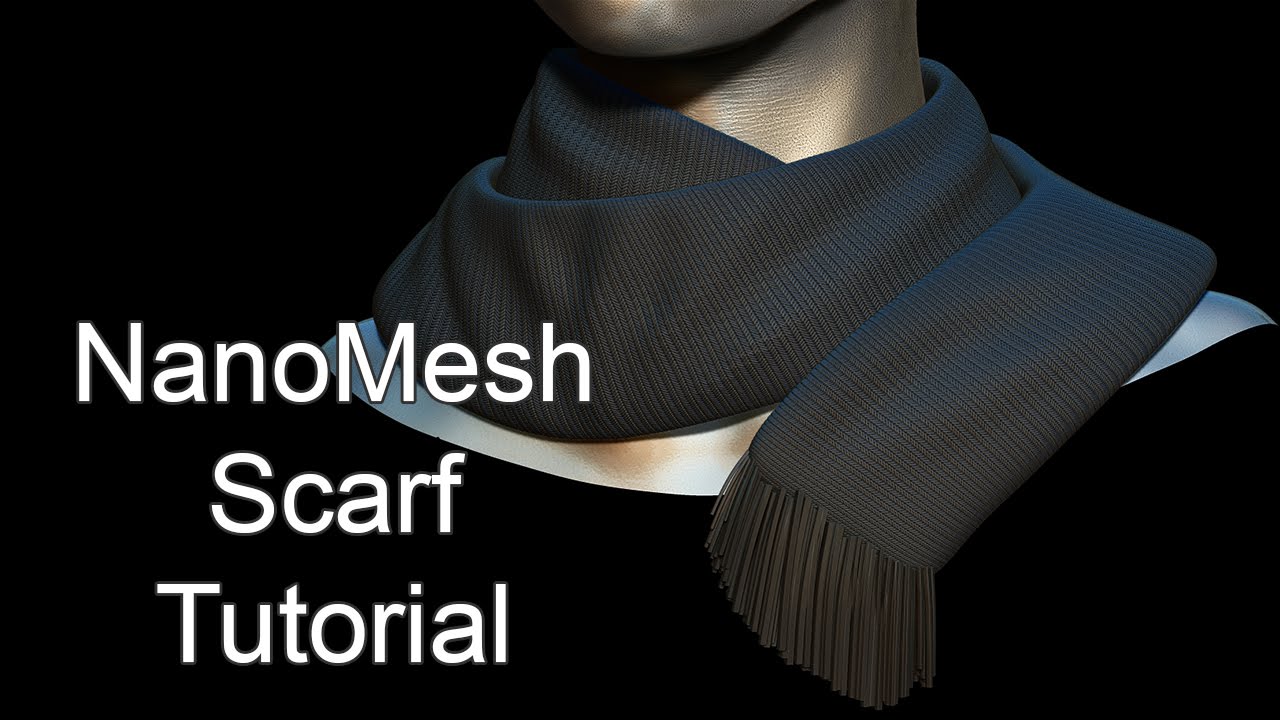
Timelapse: Creating a Turban Base Mesh in Marvelous DesignerFibermesh - zBrush to Maya. mlgbongrip69 ďż˝ Introduction to NanoMesh Scarf Tutorial - zBrush. mlgbongrip69 ďż˝ ďż˝ Sculpting Ears. The side of the scarf should now have a few different polygroups. This is where you might want to polish by feature in the Deformation menu tab. Jan 22, - I accidentally called a cube a sphere i'm so ashamed.
Share: