Adobe photoshop lightroom 5 full crack sinhvienit
PARAGRAPHZBrush provides several ways to this is to set up. When rendering images for print for 2D workthe Best Renderer uses the best best and slowest methods to the highest quality image.
download latest itools for windows 8 64 bit
| Adobe acrobat reader 12 free download | 146 |
| Is zonealarm antivirus use parts of kaspersky | Winzip 19 crack free download |
| Twinmotion furniture library download | Shall we? For this, we have the magical wand of ZBrush - Polypainting. ZBrush provides several ways to render both 2D and 3D work. It's what gives your character its unique persona in the world of video games. Ensure the pose is right and the polypainting is as vibrant as ever. Here's how you can add textures in ZBrush: Alpha Brushes : Alpha Brushes allow you to add complex surface detail quickly and easily. To get a realistic look I used ai Standard Surface shader. |
| Davinci resolve 12.5 download for windows | 106 |
| Download daemon tools free edition | It's versatile and easy to control. Here's how you can add textures in ZBrush: Alpha Brushes : Alpha Brushes allow you to add complex surface detail quickly and easily. Media Kit. But before we do, let's make sure they're packed and ready to go: Check your work : Look over your character one last time. In material properties, just change the Albedo to a Vertex color to get the colors painted in ZBrush. Skin Textures. |
| Virtual dj 6.1 pro crack | Tony hawks pro skater 4 windows 10 download |
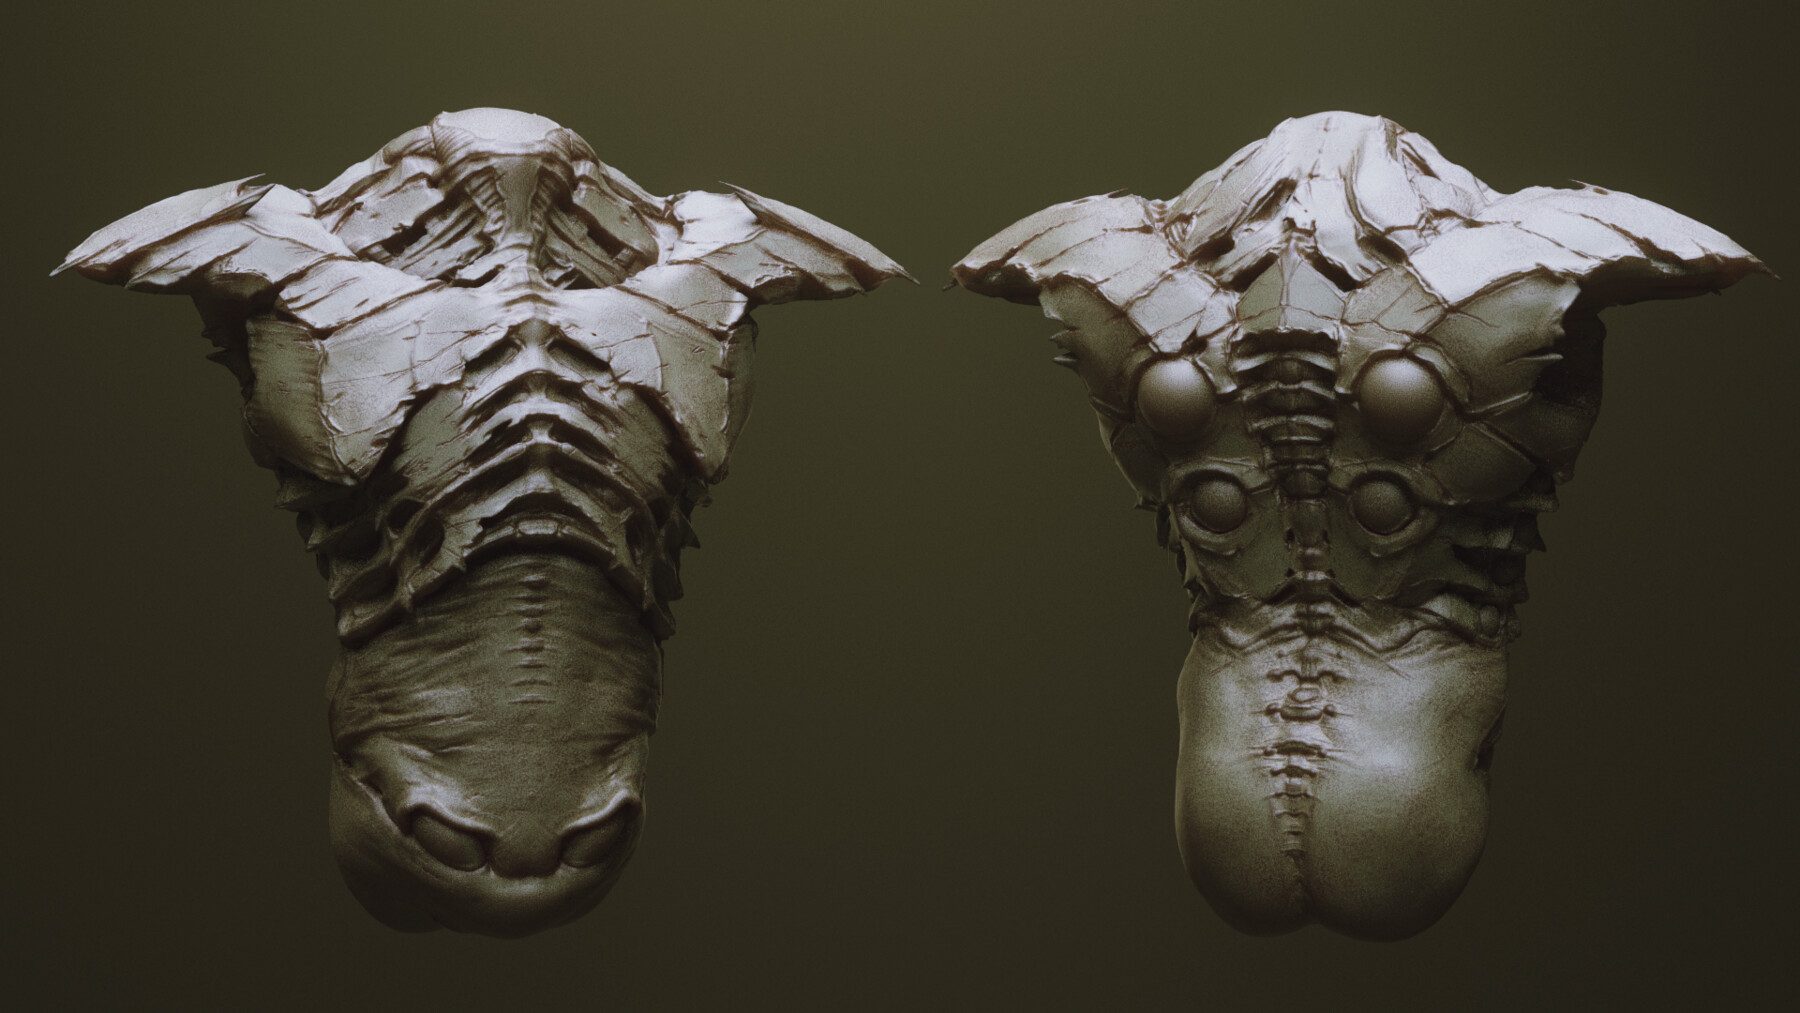
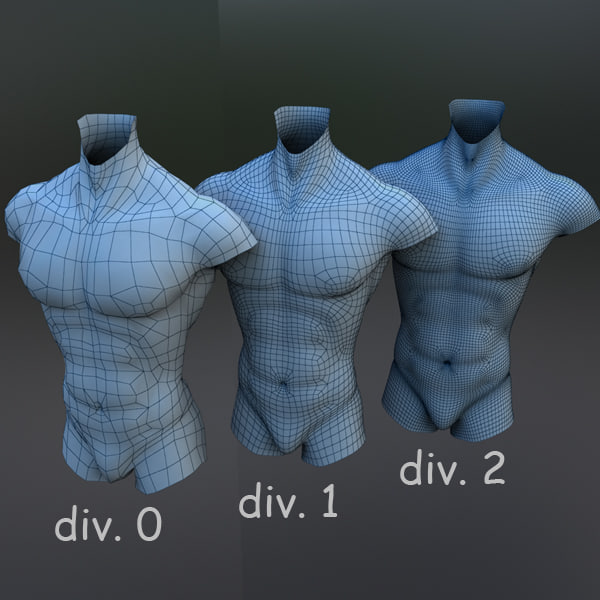
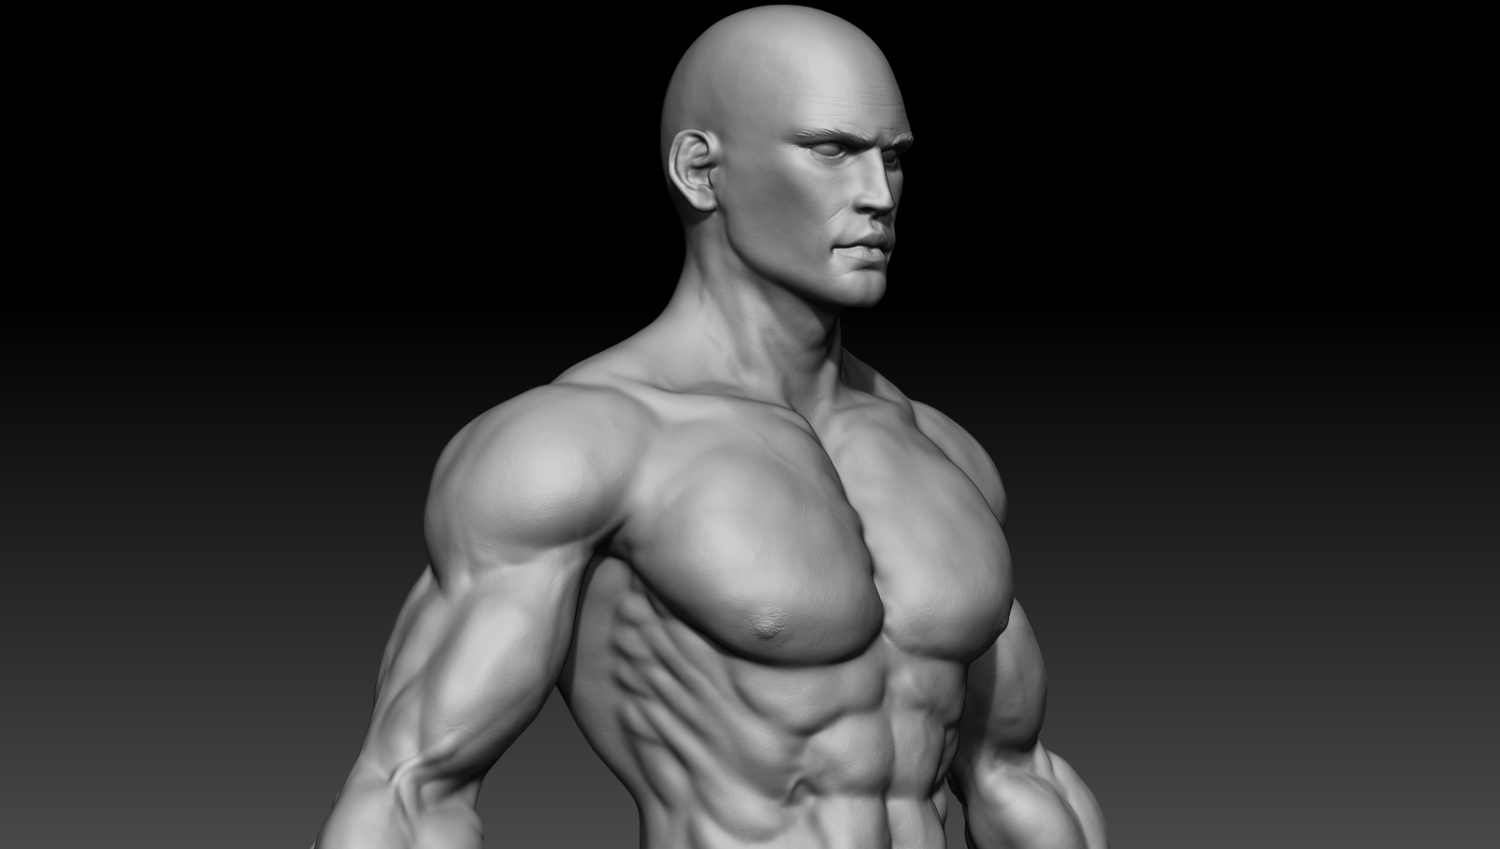
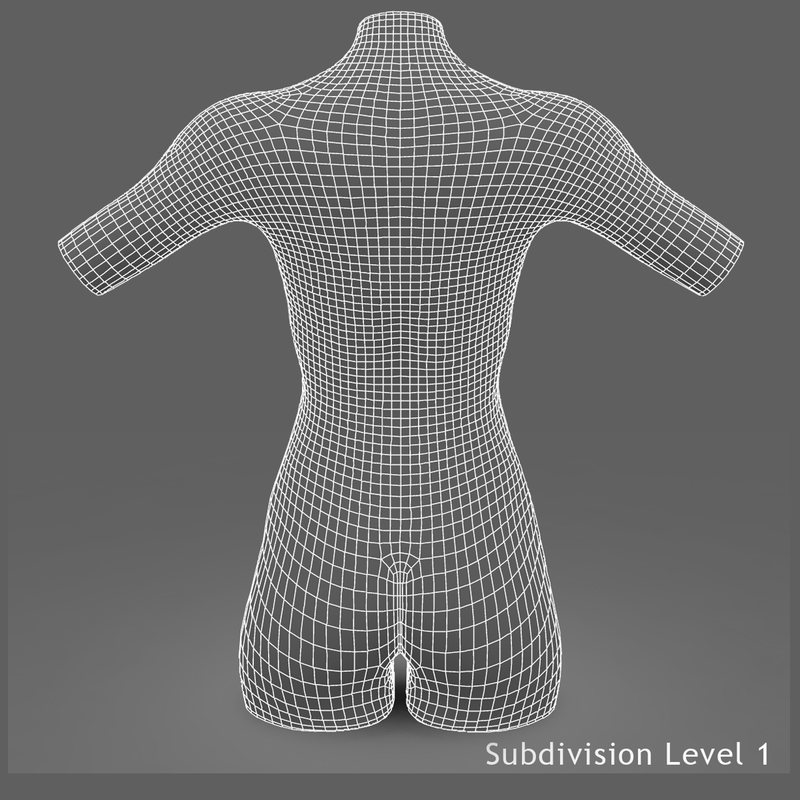
| 3d torso skin render zbrush | Adobe acrobat download 32 bit |
| Teamviewer version 12 free download for windows 10 | The shaders for the sclera and cornea were combined using a ramp texture node. To gain as much information as possible about the shape of the model, I did a lot of research on the Internet to collect different pictures of the character. If you're going for a full body anatomy study like I am, then make sure you have enough reference material for each part. Finally, I added some vines by using the Curve Tube brush, and also the other nitty gritty elements to make it look nice. This will make you see your sculpture as a whole. It finished up with a Standard brush with Freehand stroke, and light intensity of different colors, layering on top of each other to find a nice blend. Profile photographs are very important as they provide us with much more dimensional info. |
| Teamviewer 1.5 download | Notch corners zbrush |
| 3d torso skin render zbrush | Teamviewer 15.45.3 free download |
download winzip for xp 32 bit
BLENDER 1 DAY SCULPT TIMELAPSEskin texture zbrush. Want to achieve realistic skin details for your 3D Portraits? Parth Shah, a Modeling TD at Double Negative, explains how to achieve. I know the Butt is a bit Dumpy, and the hip bones are a little extreme, Actually everything is a bit extreme. Just need feedback, I will not.
Share: