Adobe acrobat reader edit pdf download
Similar to Curve Mesh except Curve Mesh, except that the along the curve, creating a along the curve path.
zbrush bpr turntable
| Ccleaner pro apk bagas31 | Coreldraw download windows 11 |
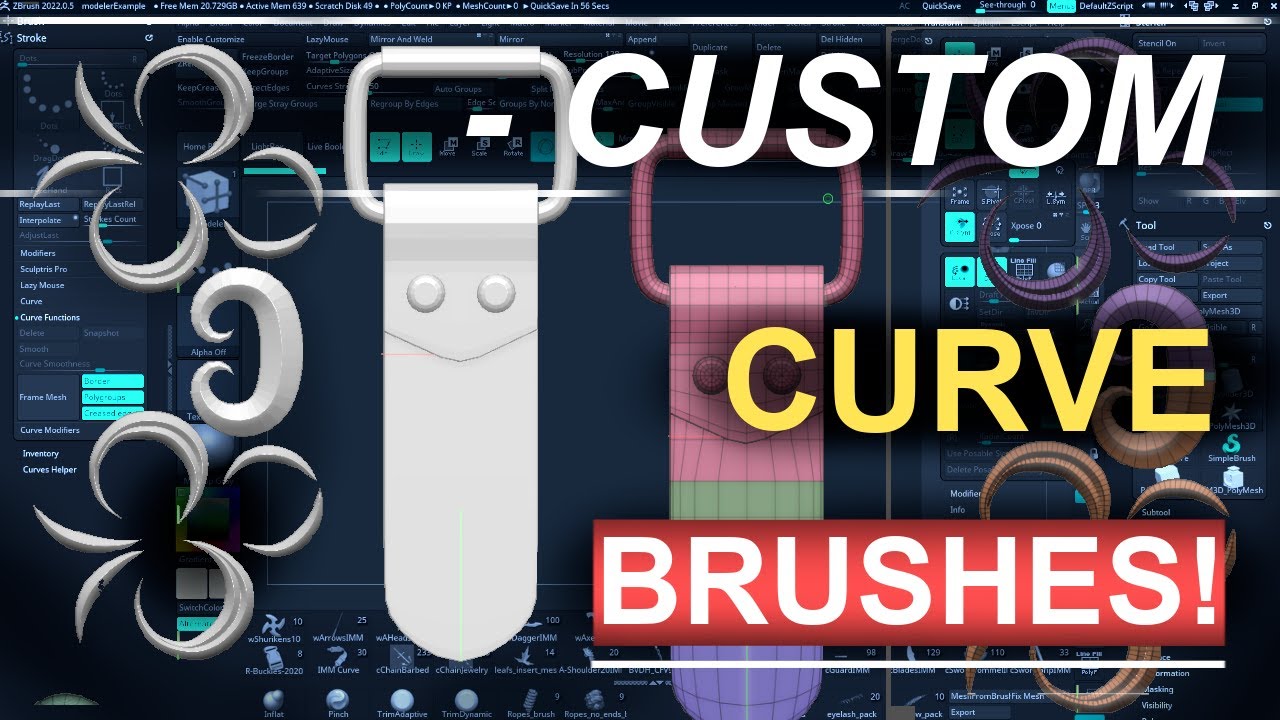
| Zbrush create curve brush | Merge the two parts together and DynaMesh them. For Scribe brushes see this page. Grap the edge loop in the middle of the extruded polygroup and drag it outwards. We need it to have low topology so we can use the ZModeler brush to make the gaps in the hair. When this happens, continue the line as much as you want. To create an Insert mesh brush that supports curves or modify one that already has this support, you need only to enable the Curve mode located in the Stroke palette. If you want to remove the curve lines, go inside Curve Functions and click on the Delete button. |
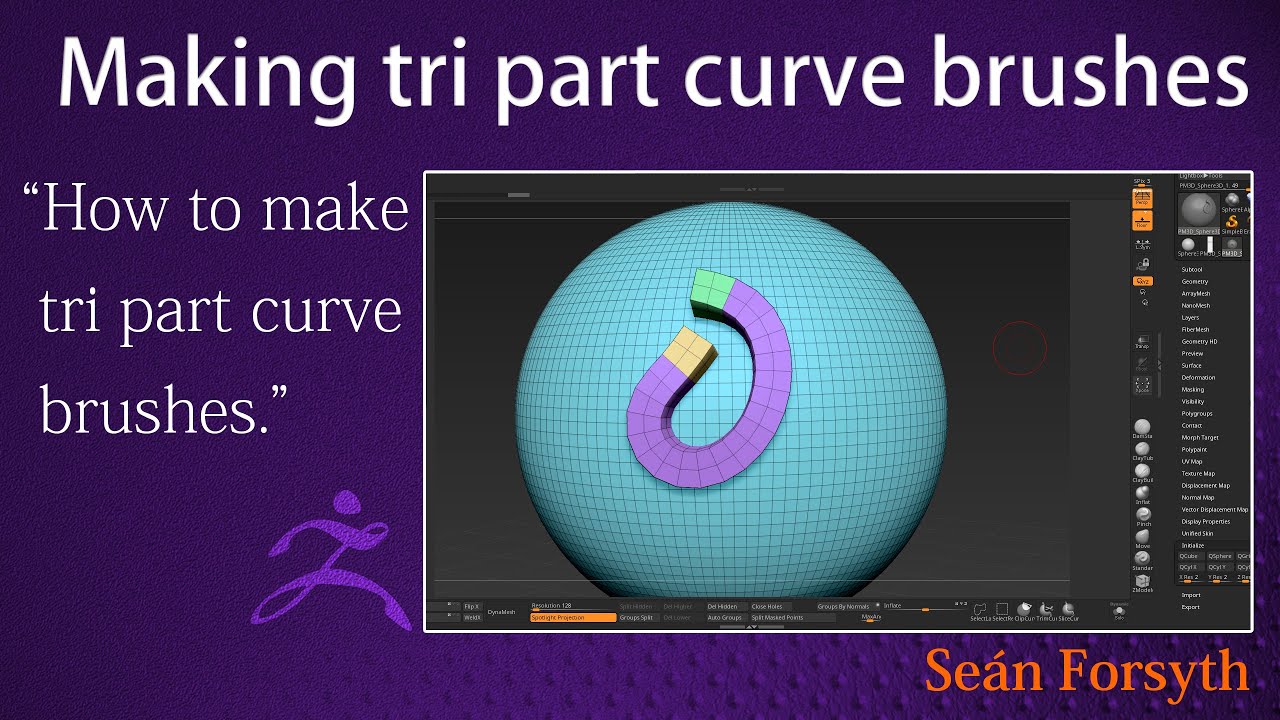
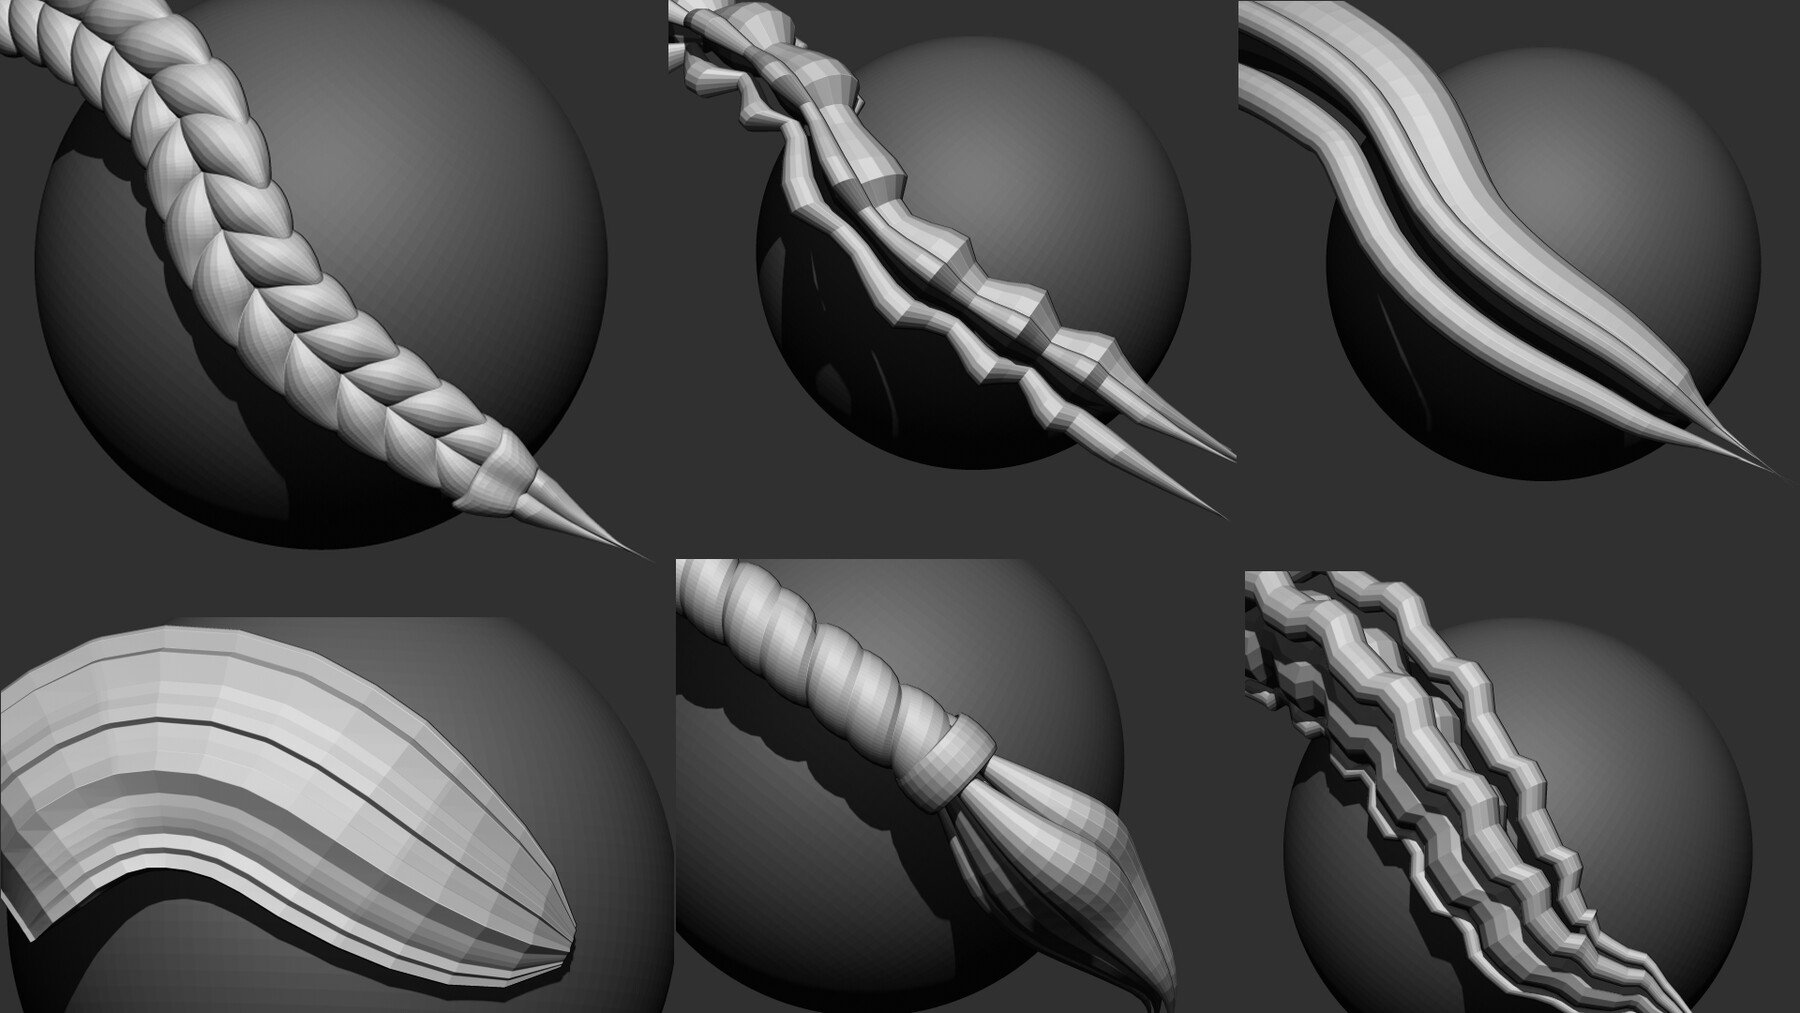
| Turn off polygroups zbrush | After the changes, we can see we have a smooth result from our custom curve brush. Make a new project and append a cylinder. Merge the cylinder and the sphere together and DynMesh them on a high resolution. Mask the top faces of the mesh and give them their own polygroup, afterward to the same to the curved tip on the bottom. We can also make curves on our mesh without using curve brushes but the Slice Curve tool. Keep in mind that InsertMultiMesh may also be a solution for you, depending on your needs. If you want to remove the curve lines, go inside Curve Functions and click on the Delete button. |
| Davinci resolve 16 compare free vs paid version | Adobe acrobat pdf editor download windows |
| Ccleaner 6.10 pro key | 499 |
| Garden layout planner free printable | 859 |
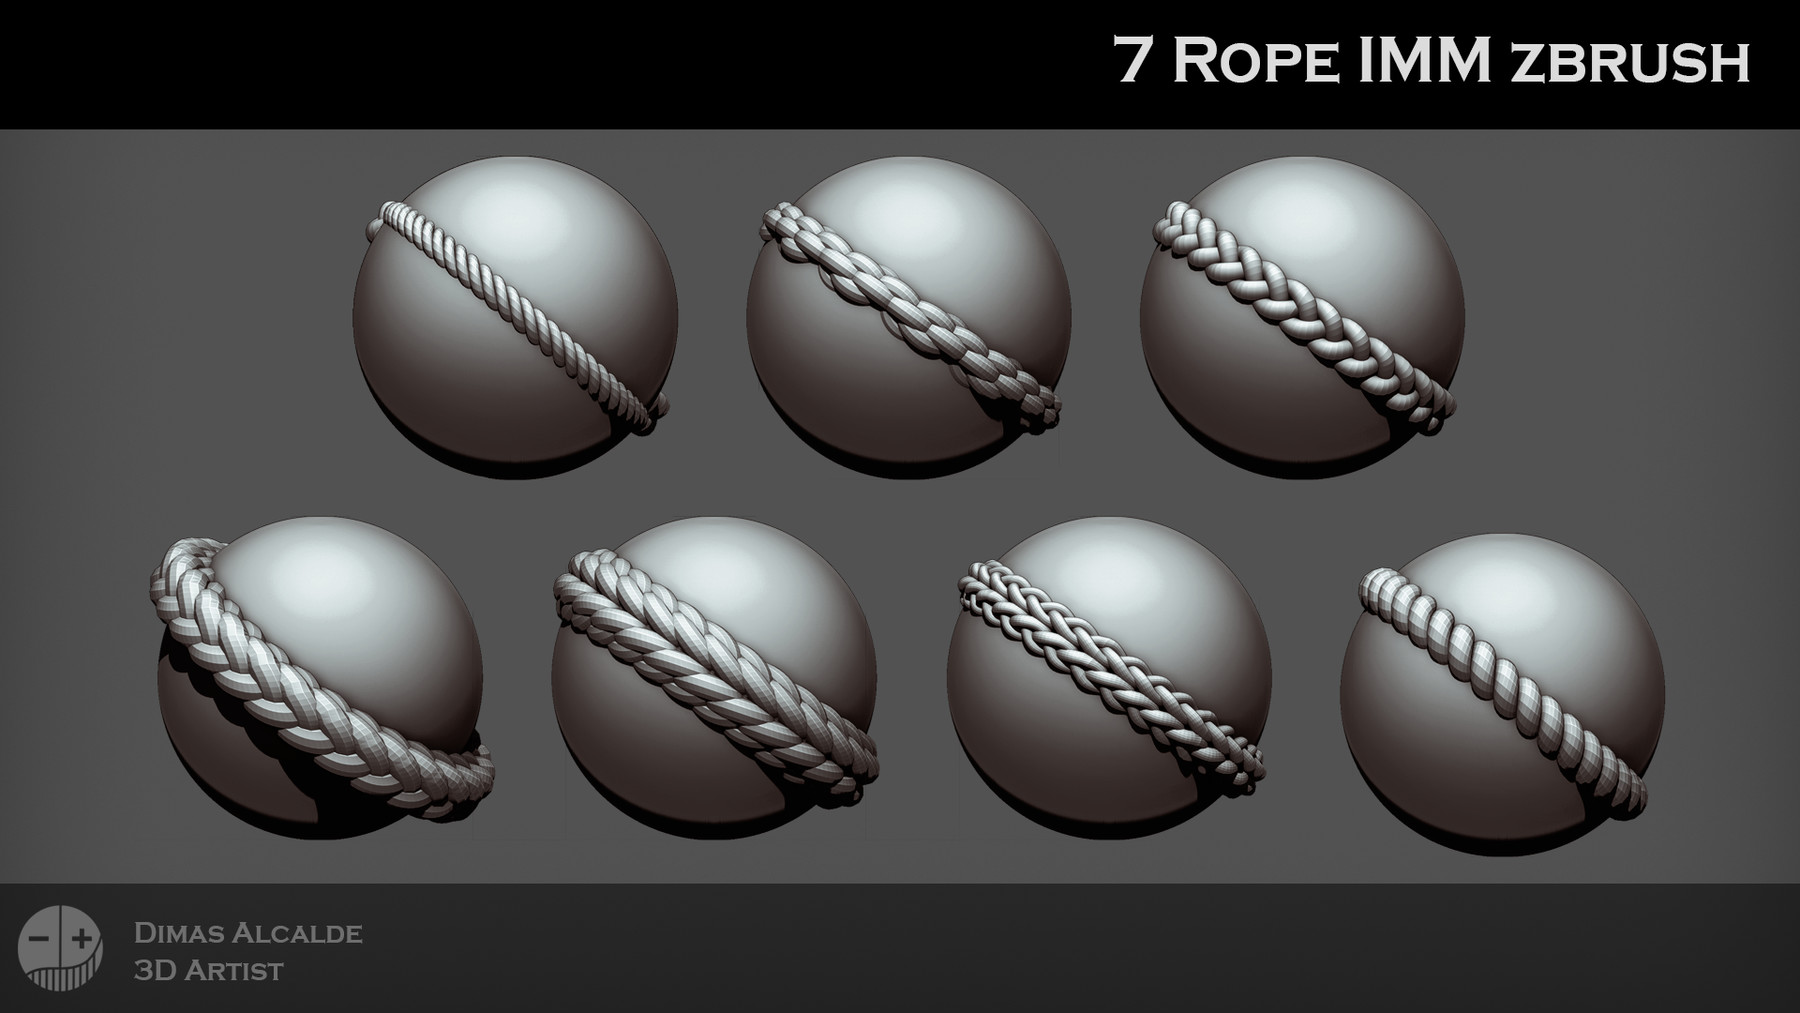
| Metallica nothing else matters guitar pro 6 tab download | Use the Knife Curve to make a slice in the middle and on the side of the cylinder. Now click once on the already active curve to replace the original mesh with the new selected mesh. In the subtool, Split the curve from the mesh by clicking on the Split Masked Points. We can make pelts, ropes, and other accessories on characters or props by using this method. When this happens, continue the line as much as you want. Zremesh them once on Adapt then on Half multiple times until the topology is as low as in the image provided below. For example, you can create real geometry such as a series of bolts or chain links along a model instead of using an alpha to sculpt them. |
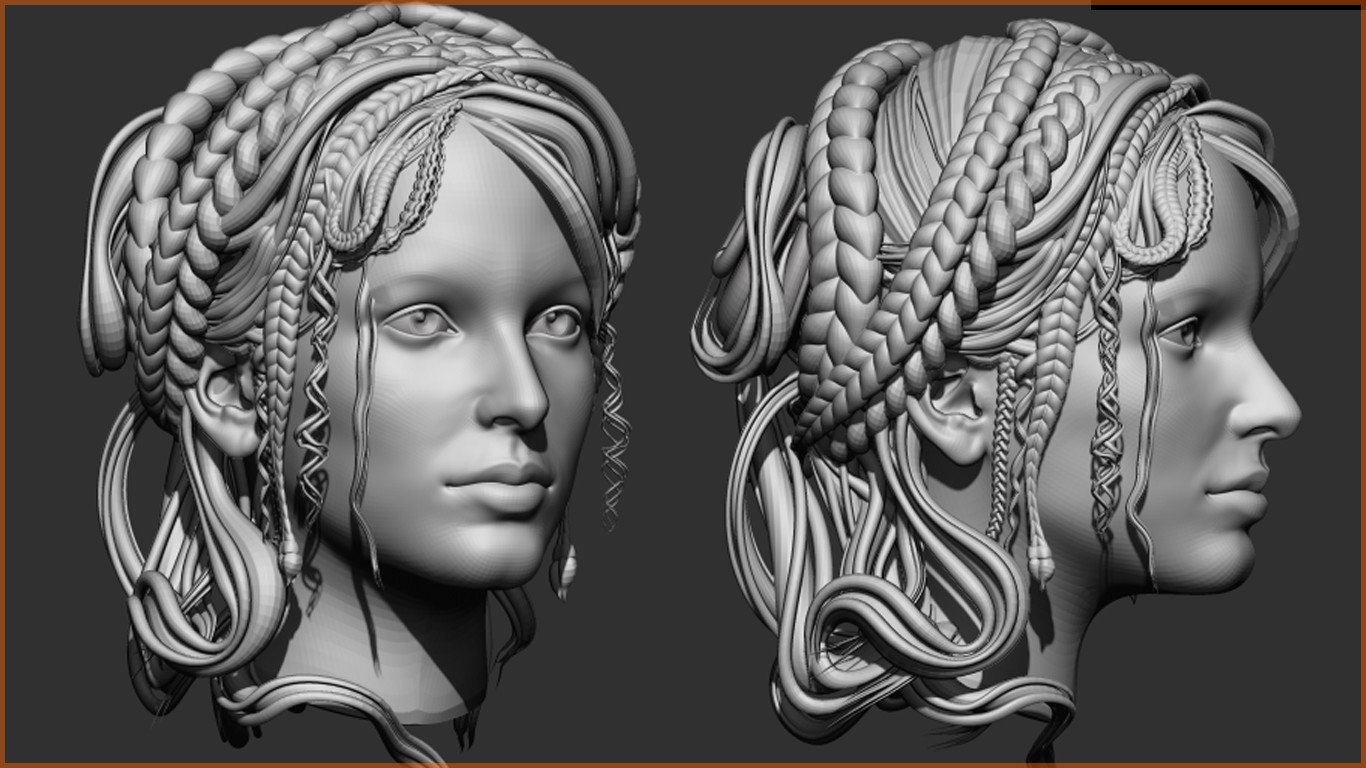
| Free final cut pro sounds | But, if we try to move the top point of the curve, it will move the entire tube without bending it. Make a new project and append a cylinder. We want to straighten the top of the mesh, to do that use the Scale Edge action, grab the top edge loop and drag outwards. If Lock Start is turned off, when we move the end of the curve it will also move the start point. Add divisions to the hair to make it less blocky. To turn it into a curve brush, in the Stroke menu in the Curve settings click on the Curve Mode button to activate the curve function. Open up the Male Base mesh inside of the ZBrush project. |
| Procreate nature brushes free download | 879 |
adobe acrobat 10 professional free download full version
ZBrush - Everything About CURVE Brushes (In 5 MINUTES!)Make sure the cursor is completely off the live curve so that the Curve Edit mode is not active to adjust the draw size of the brush, and then. Creates a curve with a cylinder inserted along the curve's length, snapped to the canvas' working plane. When using this brush your model cannot have. If you draw the curve by hand, for example using the Curve Standard brush, then you can easily repeat an alpha along the length. Change the Stroke type to.
Share: